Kdenlive
Open source video editor
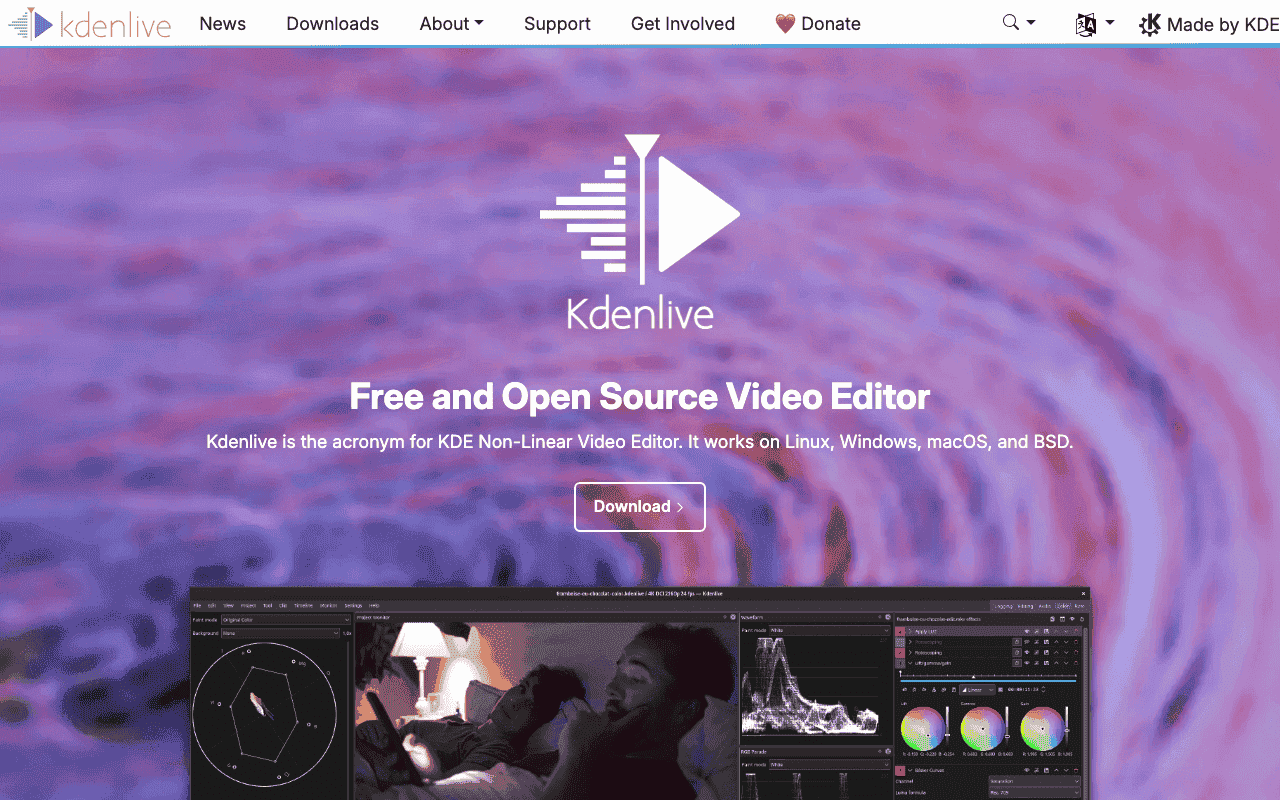
Kdenlive — Official Website
Quick Take: Kdenlive
Kdenlive is undoubtedly the best free, open-source video editor available for macOS in 2026 if you want a traditional non-linear workflow. It strikes an incredible balance between feature depth and accessibility. While it lacks the extreme polish and Metal-optimization of Final Cut Pro, it offers far more power than iMovie without the steep learning curve of DaVinci Resolve. For students, hobbyists, and budget-conscious creators, it is an essential tool.
Best For
- •Frugal creators, Open-source enthusiasts, and students needing professional tools for free.
What is Kdenlive? — Complete Guide for Mac Users in 2026
Kdenlive (KDE Non-Linear Video Editor) is a powerhouse in the open-source video editing landscape, offering a professional-grade multi-track editing environment without the subscription fatigue associated with proprietary software. Built upon the solid MLT Framework and leveraging the power of FFmpeg, Kdenlive has evolved significantly since its inception in 2004. With the 26.04.0 release in 2026, it has matured into a stable, feature-rich editor that bridges the gap between basic tools like iMovie and industry standards like Adobe Premiere Pro or DaVinci Resolve. Designed for filmmakers, YouTubers, and educators who demand granular control over their timeline, Kdenlive provides advanced compositing, audio mixing, and keyframing capabilities. For Mac users in 2026, the application has seen substantial optimization for macOS Sequoia and Apple Silicon (M-series) chips. While it traditionally hails from the Linux ecosystem, the migration to Qt6 has refined its performance on macOS, offering native rendering speeds that use the ARM64 architecture more effectively than previous Intel-based builds. Unlike many free competitors that hide essential features behind paywalls, Kdenlive remains strictly GNU GPLv2+, ensuring that every tool—from proxy editing to AI-generated subtitles via Whisper and VOSK integration—is accessible to everyone. It stands as a testament to community-driven development, offering a customizable interface that adapts to your workflow, whether you are cutting a vertical TikTok video or grading a 4K documentary.
Install with Homebrew
brew install --cask kdenliveDeep Dive: Kdenlive Architecture and Internals
Understanding Kdenlive requires looking beneath the Qt interface to the MLT (Media Lovin' Toolkit) framework that powers it. Kdenlive essentially acts as a sophisticated GUI for MLT, which constructs a network of 'producers' (clips), 'filters' (effects), and 'consumers' (renderers). This architecture is modular and highly scriptable. When you edit in Kdenlive, you are manipulating an XML document that describes this MLT network. This decoupling means that Kdenlive's project files are human-readable and small, referencing media paths rather than embedding them. The rendering pipeline delegates the heavy lifting to FFmpeg, ensuring that if FFmpeg can read or write a format, Kdenlive can handle it too. This architecture is what gives Kdenlive its broad compatibility but also introduces its primary challenge: the 'abstraction layer' latency that sometimes causes UI lag on macOS.
Key Features
Multi-Track Timeline & Nesting
Kdenlive offers a traditional, non-linear multi-track timeline that supports an unlimited number of video and audio tracks, giving users complete freedom over complex composites. Unlike magnetic timelines found in Final Cut Pro, Kdenlive adheres to a strict layer-based hierarchy which is often preferred by editors transitioning from Premiere Pro. A standout technical capability is 'Timeline Nesting' (or Sequence Nesting), which allows you to import one project file into another as a single clip. This is crucial for managing large projects; for example, you can edit complex scenes in separate project files and assemble them in a master timeline without cluttering your view with hundreds of individual cuts.
Proxy Editing Workflow
Editing 4K or 8K footage on a MacBook Air or an older Intel Mac can be sluggish due to the heavy compression of codecs like H.265. Kdenlive’s Proxy Editing feature automatically generates low-resolution copies of your source clips for smooth timeline scrubbing and playback. Technically, it uses FFmpeg to transcode high-bitrate media into lightweight MPEG or MJPEG streams in the background. When you render the final export, Kdenlive automatically swaps these placeholders back to the original high-quality source files. This feature democratizes high-end editing, allowing users with modest hardware to edit heavy footage without dropped frames or interface lag.
Keyframable Effects & Compositing
The effects engine in Kdenlive is built on the Frei0r and LADSPA libraries, providing a vast array of video and audio effects that are fully keyframable. Users can animate almost any parameter—opacity, position, color grade, or blur—over time using linear, discrete, or smooth interpolation curves. This allows for professional motion graphics work directly within the editor. For instance, you can use the 'Transform' effect to create picture-in-picture animations or complex pan-and-zoom movements (Ken Burns effect) on static images, controlling the exact velocity of the movement with the curve editor, a level of precision rarely seen in free software.
AI-Driven Subtitling (Whisper & VOSK)
In 2026, accessibility and social media retention rely heavily on captions. Kdenlive integrates both OpenAI’s Whisper and VOSK speech-to-text engines locally, allowing users to automatically generate subtitles for their timeline without uploading data to the cloud. The tool analyzes audio tracks, detects voice activity, and creates editable subtitle clips on a dedicated subtitle track. Whisper adds powerful translation capabilities, while VOSK provides fast, efficient offline transcription. Technically, this runs via a Python environment managed by Kdenlive, utilizing the CPU or Neural Engine on Apple Silicon. This transforms a tedious hour-long transcription task into a five-minute automated process, with the ability to export SRT and ASS files for YouTube or burn captions directly into the video.
Advanced Scope-Based Color Grading
Kdenlive includes a suite of professional color correction tools paired with real-time video scopes, including Waveform, Vectorscope, RGB Parade, and Histogram. The 'Lift, Gamma, Gain' effect provides standard three-way color wheels for primary grading, while 'Bézier Curves' allow for precise secondary corrections. These scopes monitor the signal integrity, ensuring your white balance is accurate and your blacks aren't crushed. For a Mac user editing LOG footage from an iPhone 16 Pro, this means you can normalize and grade your footage with professional accuracy, relying on data rather than just your eyes, ensuring consistency across different screens.
Configurable Interface Layouts
The user interface is built on the Qt framework, allowing for extreme modularity. Users can detach, resize, and stack every panel—from the Project Bin to the Effect Stack—to create custom workspaces. Kdenlive comes with pre-sets like 'Logging', 'Editing', 'Audio', and 'Color', but you can save your own. For Mac users with dual-monitor setups, you can undock the timeline and preview monitor to a secondary display while keeping your asset library on the main screen. This flexibility mimics the workspace management of Avid Media Composer, allowing editors to optimize their screen real estate based on the specific task at hand.
Who Should Use Kdenlive?
1The Indie YouTuber
A tech reviewer needs to produce a 4K review of the latest gadget. They import mixed footage: 4K 60fps from a camera and screen recordings from a Mac. Using Kdenlive, they first use the Proxy feature to ensure smooth scrubbing on their MacBook. They use the Audio Align tool to sync their high-quality external mic audio with the camera's scratch audio automatically. Throughout the edit, they apply 'Transform' effects to create dynamic zooms on product details and use the 'Glitch' effect for transitions. Finally, they use the Whisper AI integration to auto-generate captions for the YouTube Shorts version, exporting both a horizontal 4K master and a vertical 9:16 version from the same project file.
2The Open-Source Educator
A university professor teaching a digital media course needs a zero-cost tool for students to install on their personal laptops (Mac, Windows, and Linux). Kdenlive solves the licensing budget crisis. The professor creates a tutorial on 'The Kuleshov Effect'. Students use the multi-track timeline to rearrange clips non-destructively. They use the 'Rotoscoping' effect to isolate elements in a frame, demonstrating advanced compositing concepts without needing After Effects. Because Kdenlive project files are simple XML, students can easily submit their `.kdenlive` files for grading, and the professor can open them on any operating system to inspect their edit decision lists and effect stacks.
3The Documentary Filmmaker
An independent filmmaker is assembling a long-form documentary with hours of archival footage and interviews. They rely heavily on Kdenlive's 'Bin' organization, using tags and color codes to sort footage by interviewee and topic. The 'Notes' widget helps them keep track of timestamps and directorial thoughts. During the rough cut, they use the 'Ripple Delete' and 'Slip/Slide' tools to refine the pacing of interviews. For the final polish, they use the RGB Parade scope to color match vintage archival footage with modern 4K interviews, applying grain overlays to unify the aesthetic. The final export uses the HEVC codec for a high-quality, efficient master file suitable for film festivals.
4The Social Media Manager
Managing content for a brand's Instagram and TikTok channels requires speed and flexibility. This user sets up a custom project profile with a 1080x1920 vertical resolution. They drag and drop stock footage and product demos into the timeline. Kdenlive’s 'Center Crop' effect helps them reframe horizontal footage for the vertical canvas, using keyframes to keep the subject in focus. They use the 'Typewriter' effect in the Titler to create engaging text overlays that match the brand's style. By saving this setup as a 'Template Project', they reduce their daily production time by 40%, ensuring consistent branding across all daily uploads without repetitive setup.
How to Install Kdenlive on Mac
Installing Kdenlive on macOS has become straightforward in 2026, though it still requires minor permission adjustments typical for open-source software.
Install via Homebrew (Recommended)
For the easiest management and updates, open your Terminal app and run the command: brew install --cask kdenlive. This pulls the latest stable DMG and links it to your Applications folder automatically.
Manual Download & Mount
Alternatively, visit the official Kdenlive download page and grab the macOS DMG (Universal or Intel/Apple Silicon specific). Double-click the downloaded file to mount the disk image, then drag the Kdenlive icon into your Applications folder.
Bypass Gatekeeper Warning
On the first launch, macOS may block the app because the developer isn't verified by Apple. Right-click (or Control-click) the Kdenlive icon in Applications, select 'Open', and then click 'Open' again in the dialogue box to whitelist it permanently.
Config Wizard & Dependency Check
Upon first launch, the Config Wizard will run. Ensure all checks (FFmpeg, MLT, Frei0r) have green checkmarks. Kdenlive 26.04.0 includes bundled dependencies for macOS, but if any component is missing, the wizard will guide you to download the required static binaries.
Pro Tips
- • Run
xattr -cr /Applications/kdenlive.appin Terminal if the app reports it is damaged. - • Ensure you have Rosetta 2 installed if you are running an Intel build on Apple Silicon.
- • Set your 'Cache Folder' in preferences to an external SSD if your internal Mac drive is full.
- • Enable 'Dark Breeze' theme in Settings > Style for a native pro-app look on macOS.
Configuration Tips
Optimize Proxy Settings
Go to Settings > Configure Kdenlive > Proxy Clips. Check 'Enable Proxy Clips' and set the condition to 'Image width larger than 1080'. This forces Kdenlive to create lightweight proxies for any 4K footage automatically, preventing timeline lag on MacBook Airs or Mac Minis with shared memory.
Unlock Experimental GPU Processing
While risky, enabling GPU processing can speed up timeline effects. In Settings > Playback, look for 'Movit' or GPU processing options. On macOS, this interaction with Metal/OpenGL varies by version, but enabling 'Use GPU for playback' can significantly smooth out preview performance on M-series chips.
Customize Keyboard Shortcuts
Coming from Premiere or FCP? Kdenlive allows you to remap keys. Go to Settings > Configure Shortcuts. You can download and import 'Schemes' that mimic Adobe Premiere's layout (e.g., using 'C' for razor tool), making the transition seamless for muscle memory.
Set Default Project Profile
Avoid adjusting settings for every new video. Create a custom project profile (e.g., '4K 24fps Vertical') matching your camera's source settings. Go to Project > Project Settings, create the profile, and set it as 'Default'. This prevents mismatch issues where audio drifts or video requires unnecessary rendering.
Alternatives to Kdenlive
The Mac video editing ecosystem is crowded. Here is how Kdenlive stacks up against the heavyweights.
DaVinci Resolve (Free)
DaVinci Resolve is the industry standard for color grading and offers a free version that far exceeds Kdenlive in raw power and AI features (Magic Mask, Face Refinement). However, Resolve is resource-hungry, often requiring 16GB+ RAM and a dedicated GPU to run smoothly. Kdenlive is much lighter, runs on older hardware, and is fully open-source, meaning no features are locked behind a 'Studio' upgrade paywall. Choose Resolve for Hollywood-grade grading; choose Kdenlive for efficient, standard editing.
Final Cut Pro
Apple's Final Cut Pro (FCP) is the gold standard for performance on macOS, utilizing the Metal engine for blazing-fast exports. FCP uses a 'Magnetic Timeline' which is faster for assembling cuts but can be confusing for traditional editors. Kdenlive sticks to the traditional track-based layout (like Premiere). While FCP costs $299, Kdenlive is free. FCP is better for professionals needing speed and ecosystem integration; Kdenlive is ideal for those who prefer a traditional workflow without the cost.
Shotcut
Shotcut and Kdenlive both share the same backend (MLT Framework), so their format support and export quality are nearly identical. However, Kdenlive offers a more conventional, professional interface with a proper multi-track timeline and easier keyframing tools. Shotcut's interface is more idiosyncratic and 'playlist' based. Kdenlive is generally considered the more 'pro' user experience of the two, while Shotcut might be slightly more stable on very old hardware due to simpler UI overhead.
Pricing
Kdenlive is released under the GNU General Public License (GPL). There is no 'Pro' version, no subscription, and no watermarks. Every feature, including commercial render formats and AI tools, is available for free. Donations to the KDE project are encouraged but optional.
Pros
- ✓Completely free and open-source with no hidden paywalls or subscriptions.
- ✓Professional 3-point editing tools with infinite video and audio tracks.
- ✓Proxy workflow allows editing 4K footage on older or non-Pro Mac hardware.
- ✓Extensive format support (ProRes, DNxHD, H.265, AV1) via FFmpeg backend.
- ✓Built-in AI speech-to-text generation for automatic subtitling.
- ✓Highly customizable interface with dockable widgets and saved layouts.
Cons
- ✗macOS version can be less stable than Linux, with occasional crashes.
- ✗Learning curve for effects and keyframing is steeper than iMovie.
- ✗Lacks advanced AI features (like Generative Fill or Magic Mask) found in paid rivals.
- ✗Text and Title tool is functional but feels dated compared to modern motion graphics tools.
Community & Ecosystem
Kdenlive benefits from the massive KDE community infrastructure. Development is active, with monthly maintenance releases and major feature updates twice a year. The user forum (discuss.kde.org) and the official subreddit are very active, providing quick troubleshooting advice. Documentation is comprehensive, hosted on the KDE UserBase Wiki, though sometimes it lags slightly behind the bleeding-edge features. There is a growing ecosystem of users sharing 'Lotties' animations and title templates, and the bug tracker is transparent, allowing users to report macOS-specific issues directly to developers.
Video Tutorials
Getting Started with Kdenlive
More Tutorials
Learn Kdenlive in 30 Minutes - Video Editing Basics
Nuxttux Creative Studio • 126.5K views
LEARN KDENLIVE IN 15 MINUTES ~ Basic Video Editing Tutorial for Beginners
Chris' Tutorials • 315.7K views
Best FREE Video Editing Software for YouTube (Don't Choose Wrong)
Youri van Hofwegen • 201.8K views
Frequently Asked Questions about Kdenlive
About the Author

Creative Software Expert
Related Technologies & Concepts
Related Topics
Sources & References
Key Verified Facts
- Kdenlive is built upon the MLT (Media Lovin' Toolkit) multimedia framework.[cite-1]
- The application supports automatic subtitle generation using OpenAI's Whisper and VOSK models locally.[cite-2]
- Kdenlive allows for proxy editing to smooth out performance on lower-end hardware.[cite-3]
- It supports virtually all audio and video formats via FFmpeg integration.[cite-4]
- Kdenlive projects can be archived with all assets included to move between computers.[cite-5]
- 1Homebrew
Accessed May 6, 2026
- 2Bundl
Accessed May 6, 2026
- 3Kdenlive - Free and Open Source Video Editor
Accessed May 6, 2026
- 4Kdenlive Downloads
Accessed May 6, 2026
- 5Kdenlive Features
Accessed May 6, 2026
- 6Kdenlive User Manual
Accessed May 6, 2026
- 7Kdenlive Roadmap
Accessed May 6, 2026