Bruno
Open source IDE for exploring and testing APIs
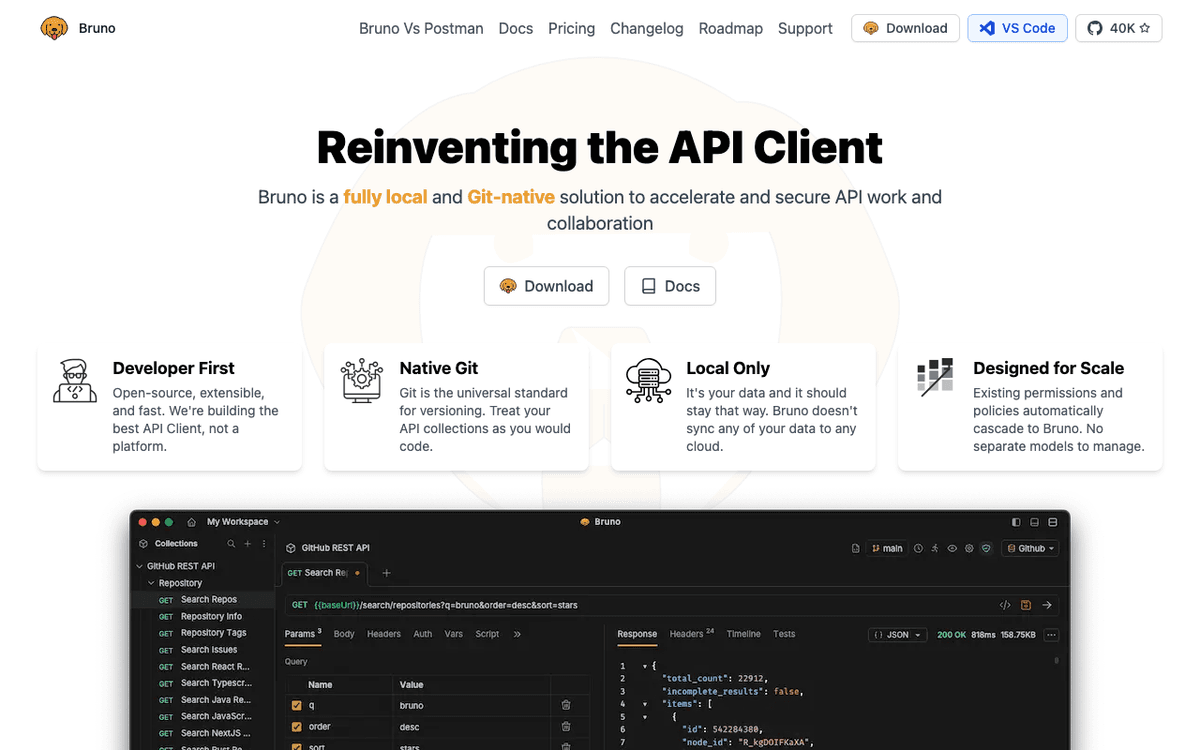
Bruno — Official Website
Quick Take: Bruno
In 2026, Bruno stands as the premier choice for technical teams and privacy-conscious developers who are tired of bloatware. It effectively reclaims the API client as a true developer tool rather than a SaaS platform. Its seamless integration with Git workflows makes it indispensable for modern DevOps practices, solving the 'stale collection' problem that plagues Postman users. While it may lack the flashy, hand-holding UI of expensive enterprise suites, its speed, transparency, and respect for user data make it superior for 90% of engineering use cases. If you know how to use Git, Bruno is not just an alternative; it is an upgrade. It is highly recommended for any team that values infrastructure-as-code principles.
Best For
- •DevOps & Platform Engineering Teams
- •Privacy-Focused Enterprises (Health/Fintech)
- •Open Source Maintainers
What is Bruno?
Bruno is a fast, open-source, and offline-first API client that has changed the developer tooling landscape by challenging the cloud-sync dominance of Postman and Insomnia. Created by Anoop M.D. and open-sourced in late 2022, Bruno distinguishes itself with a radical "Local-First, Git-Native" philosophy. Instead of locking your API collections into a proprietary cloud database, Bruno stores them directly on your filesystem as plain text files using its custom domain-specific language, Bru (and as of version 3.0 in 2026, increasingly in YAML). This allows developers to co-locate their API collections with their application code in the same Git repository, enabling version control, pull requests, and peer reviews for API workflows alongside standard code. In 2026, Bruno has matured into a solid industry standard, currently on version 3.x. It is built on a modern technology stack utilizing Electron and Next.js, ensuring a cross-platform experience that is lightweight and responsive. Unlike competitors that bloat their clients with social features and forced cloud synchronization, Bruno remains strictly offline by default, ensuring that sensitive API keys and corporate data never leave your machine unless you explicitly push them to your own version control system. It fits into the Developer Tools landscape as the "hacker's choice"—a tool that respects user privacy, integrates smoothly into CI/CD pipelines via its CLI, and offers an unencumbered, high-performance environment for testing REST, GraphQL, and WebSocket APIs.
Install with Homebrew
brew install --cask brunoDeep Dive: The "Local-First" Architecture
Bruno's radical departure from industry norms lies in its architectural decision to decouple the GUI from data storage entirely, relying on the OS filesystem as the single source of truth.
History & Background
Founded in late 2021 by Anoop M.D., Bruno began as a rebellion against Postman's removal of offline features. It gained massive traction in October 2023 following Insomnia's controversial forced-login update. By 2026, with the release of v3.0, it solidified its position, transitioning from a niche tool to a major industry player with over 200,000 monthly active users.
How It Works
Bruno is an Electron-based desktop application that bridges a React/Next.js frontend with a Node.js backend. Uniquely, it uses a 'file-watch' architecture. It constantly monitors the filesystem for changes in .bru or .yml files, updating the UI in real-time. This allows for 'two-way binding' between your code editor (like VS Code) and the Bruno client.
Ecosystem & Integrations
The ecosystem has expanded significantly by 2026. It now includes the Bruno CLI for automation, a VS Code extension for syntax highlighting, and a growing library of community-maintained 'recipe' collections. Compatibility with the OpenAPI standard means it acts as a bridge, allowing users to import Swagger specs and export them as testable Bruno collections.
Future Development
Looking ahead through 2026, the roadmap focuses on making YAML the default storage format to further standardizing API definitions. The team is also working on a 'Headless' mode for better server-side performance and deeper integrations with IDPs (Internal Developer Platforms) like Backstage, cementing its place in enterprise infrastructure.
Key Features
Bru DSL & Filesystem Storage
Bruno's defining feature is its storage engine. Instead of a hidden database, it saves every API request as a readable text file ending in `.bru` (or `.yml` in v3+) directly in your project folders. This **Bru DSL** is a clean, dictionary-like syntax that human beings can read and edit without opening the app. Technically, this works by mapping the folder structure in your OS directly to the collection hierarchy in the app. For users, this matters because it eliminates "sync conflicts" and proprietary lock-in. You can open a `.bru` file in VS Code, make a bulk edit with regex, and see it instantly reflected in Bruno.
Git-Native Collaboration
Because collections are just files, Bruno uses your existing Git workflow for collaboration. There is no "Bruno Cloud Team" to invite members to; you simply commit your `.bru` files to your GitHub or GitLab repository. When a teammate pulls the latest code, they get the latest API collection automatically. In 2026, version 3 introduced a revamped **Git UI** panel directly inside the app, allowing you to stage, commit, and push changes to your collection without leaving the interface. This feature drastically reduces context switching and ensures that API documentation never drifts from the actual code implementation.
Scripting & NPM Module Support
Bruno offers a powerful runtime for pre-request and post-response scripting using standard JavaScript. Unlike competitors with limited sandboxes, Bruno allows you to require external **npm modules** directly in your scripts. Technically, this uses the Node.js environment within the Electron wrapper. A user can, for example, install `faker` or `dayjs` in their collection's folder and use `const dayjs = require('dayjs')` to generate dynamic timestamps or mock data for payloads. This level of flexibility is critical for advanced testing scenarios where standard variable substitution isn't enough.
Offline-First Privacy
In an era of data leaks, Bruno's "Offline-First" architecture is a major security feature. The application makes no network calls to third-party servers to save your requests, environment variables, or secrets. All data resides on your local disk. This is technically achieved by removing all cloud-sync logic from the core application architecture. For users in regulated industries like fintech or healthcare, this provides compliance peace of mind, knowing that sensitive bearer tokens and PII payloads are not stored in a vendor's cloud database, effectively zeroing out the risk of third-party data breaches.
Visual Testing & Declarative Assertions
Bruno simplifies API testing with a declarative assertion interface that sits alongside the traditional script-based tests. Users can create tests using a simple UI builder (e.g., `res.status` `eq` `200`) without writing a single line of code. Under the hood, these are transpiled into assertions run by the internal test runner. This matters for QA engineers and less code-heavy developers who need to validate API reliability quickly. For example, you can set up a chain of assertions to verify that a JSON response contains a specific `id` field and that the response time is under 200ms.
Local Workspaces (v3)
Introduced in the 2026 v3 update, Local Workspaces allow users to aggregate multiple distinct collections into a single dashboard view without moving the underlying files. Technically, this creates a virtual mapping layer that references disparate folders on your drive. This is crucial for full-stack developers working on microservices, where they might have a `user-service` collection and a `payment-service` collection in different repos. With Local Workspaces, they can load both into one Bruno window, switching context instantly without having to close and reopen different folder paths.
Who Should Use Bruno?
1The Full-Stack Team Lead
Sarah leads a team of 8 developers working on a microservices architecture. Previously, her team struggled with Postman collections becoming outdated because developers forgot to click "Sync." With Bruno, Sarah initializes a `bruno/` folder in the root of each service's Git repository. As she merges a Pull Request that adds a new `POST /checkout` endpoint, the PR includes the corresponding `checkout.bru` file. CI/CD pipelines automatically run `bru run` to validate these endpoints before deployment. The outcome is zero drift between the API code and the API documentation, and her team no longer pays for $20/user/month subscriptions just to share request definitions.
2The Security-Conscious DevOps Engineer
Mark works for a healthcare startup handling HIPAA-compliant data. He is strictly forbidden from using cloud-synced tools that might accidentally cache patient data on external servers. Mark installs Bruno via Homebrew and configures his `env` secrets to never be committed to Git (using `.env` file integration). He uses Bruno to debug production APIs by tunneling through a secure bastion host. Because Bruno effectively acts as a local shell utility with a GUI, Mark can confidently audit the network traffic, knowing absolutely no telemetry or collection data is leaving his corporate MacBook. He successfully replaces a clumsy curl-script workflow with Bruno's UI.
3The Automation QA Engineer
Elena is responsible for regression testing a legacy e-commerce API. She needs to generate complex, random datasets for stress testing. Using Bruno, she initializes a collection and runs `npm install @faker-js/faker` in the collection directory. In her "Pre Request" script, she writes standard JS to generate random user profiles and injects them into the request body. She then uses the **Bruno CLI** to integrate this collection into a nightly Jenkins build. If a test fails, the CLI outputs a detailed report that she can parse. The outcome is a solid, self-contained test suite that lives right next to the application source code.
How to Install Bruno on Mac
Installing Bruno on macOS is straightforward. The recommended method for most developers is using Homebrew, which ensures you easily get the latest updates, though a direct binary download is also available for those without package managers.
Install via Homebrew
Open your terminal and run the cask installation command to download the latest stable version:
brew install --cask bruno
Verify Installation
Once finished, verify the installation and check the version by launching the app or running:
ls /Applications/Bruno.app
Install Bruno CLI (Optional)
To run collections from your terminal or CI pipelines, install the companion CLI tool globally via npm:
npm install -g @usebruno/cli
Pro Tips
- • Grant Bruno 'Full Disk Access' in System Settings if you plan to store collections in protected system directories, though user home folders work by default.
- • Run
brew upgrade brunobi-weekly; the team ships updates frequently with new syntax features. - • Install the 'Bruno' extension for VS Code to get syntax highlighting for your
.brufiles.
Configuration Tips
Secrets Management with .env
Don't hardcode API keys. Create a .env file in your collection's root folder. Bruno automatically reads this. In your requests, reference secrets like {{process.env.API_KEY}}. Add .env to your .gitignore file immediately to prevent accidental leaks while keeping your .bru files safe to commit.
Configuring Proxy Settings
If you work behind a corporate firewall, Bruno respects your system proxy but often needs manual tweaking. Go to Preferences > Proxy and explicitly set your proxy URL if requests hang. You can also toggle 'Bypass SSL Verification' here for testing local endpoints with self-signed certificates.
Custom Theme & Font
For better readability during long sessions, enable the 'Latte' or 'VS Code Dark' theme introduced in v3. Navigate to Settings > Display and set your Editor Font to a nerd-font like 'JetBrains Mono' or 'Fira Code' to make the Bru DSL syntax and JSON responses easier to parse visually.
Alternatives to Bruno
While Bruno is leading the offline-first charge, the API client market in 2026 is competitive. Users often weigh it against legacy giants and web-based newcomers depending on their need for cloud sync versus local privacy.
Postman
The industry giant. Postman is unmatched in ecosystem size, offering a public API network and vast learning resources. However, in 2026, it is heavily cloud-dependent, pushing expensive Enterprise subscriptions ($29+/mo) for team collaboration. Postman is better for non-technical PMs who need a polished UI, but Bruno wins for developers who prefer speed, Git integration, and zero cost for basic collaboration.
Insomnia
Insomnia sits between Bruno and Postman. It offers a cleaner UI than Postman and good plugin support. However, its controversial 2023 shift toward forced cloud sync alienated many users, driving them to Bruno. While Insomnia has walked back some restrictions, Bruno remains the superior choice for strict offline-only requirements. Insomnia is still strong for GraphQL heavy users due to its mature schema fetching tools.
Hoppscotch
Hoppscotch is a lightweight, web-first open-source alternative. Unlike Bruno (which is a desktop app), Hoppscotch runs in your browser, making it instantly accessible without installation. It's excellent for quick, one-off requests. However, Bruno beats Hoppscotch for long-term project maintenance because of its filesystem persistence; Hoppscotch relies on browser storage or cloud sync, which can be less reliable for heavy workflows.
Pricing
Bruno's core model is truly free and open-source (MIT License). You get unlimited collections, requests, and environments for $0. The 'Golden Edition' (paid) model was restructured in late 2024. In 2026, there is a Pro plan (~$6/user/mo) and Ultimate plan (~$11/user/mo). Crucially, the Free tier now includes previously paid features like OpenAPI import/export and basic Git UI. You only pay for advanced enterprise features like SSO, centralized governance, and deep automated Git integration tools.
Pros
- ✓True Offline Architecture — No cloud sync means zero data egress risks; your API keys never leave your machine.
- ✓Git-Native Workflow — Treats API collections as code (Infrastructure as Code), enabling PRs, diffs, and versioning alongside your app.
- ✓No Vendor Lock-in — Data is stored as standard text files (.bru/.yml), not in a proprietary encrypted database.
- ✓Unlimited Free Use — No artificial limits on the number of requests, collections, or runs in the free version.
- ✓Lightweight Performance — Launches instantly and consumes significantly less RAM than Postman's Chromium-heavy suite.
- ✓NPM Module Support — unmatched scripting flexibility by allowing standard Node.js libraries in test scripts.
- ✓Transparent Roadmap — The open-source nature ensures community-driven feature prioritization rather than profit-driven bloat.
Cons
- ✗Smaller Ecosystem — Lacks the massive library of public API collections and community workspaces found in Postman.
- ✗UI Polishedness — While functional, the UI (especially the new v3 themes) can feel less refined and 'native' than premium competitors.
- ✗Learning Curve — The file-based approach requires a mindset shift for users used to 'magic' cloud syncing and workspace sharing.
- ✗Limited Cloud Features — If you want cloud mocking, hosted documentation, or public API portals, you have to build them yourself.
Community & Support
The Bruno community is vibrant and rapidly growing, centered primarily around GitHub and Discord. As of 2026, the GitHub repository boasts over 40,000 stars, with a very active 'Discussions' tab where the creator, Anoop, frequently interacts. Support is community-driven but high-quality; bugs reported on GitHub are often triaged within days. The Discord server has thousands of active members sharing scripts and themes. Documentation is solid, though it sometimes lags slightly behind the rapid v3 release cycle. Unlike corporate tools, you are talking to fellow developers, not support bots.
Video Tutorials
Getting Started with Bruno
More Tutorials
The BEST API Client - Open-Source & Git-friendly (Bruno)
Better Stack • 36.0K views
Bruno API Client Full Walkthrough 🚀 | Complete Beginner's Guide to All Features! #opensource
Ganesh Patil • 8.4K views
Bruno Rest API Client for Software Testing
EvilTester - Software Testing • 7.1K views
Frequently Asked Questions about Bruno
About the Author

Related Technologies & Concepts
Sources & References
Fact-CheckedLast verified: Feb 15, 2026
- 1usebruno.com
Accessed Feb 15, 2026
- 2unirises.com
Accessed Feb 15, 2026
- 3echoapi.com
Accessed Feb 15, 2026
- 4usebruno.com
Accessed Feb 15, 2026
- 5fossunited.org
Accessed Feb 15, 2026
- 6g2.com
Accessed Feb 15, 2026
- 7danaepp.com
Accessed Feb 15, 2026
- 8getoden.com
Accessed Feb 15, 2026
- 9keploy.io
Accessed Feb 15, 2026
- 10usebruno.com
Accessed Feb 15, 2026
- 11github.com
Accessed Feb 15, 2026
- 12producthunt.com
Accessed Feb 15, 2026
Research queries: Bruno API client creator history founding date; Bruno API client reviews 2025 2026; how to install Bruno on Mac Homebrew; Bruno Bru DSL syntax features; Bruno vs Postman vs Insomnia 2026 comparison