HyperWhisper
AI-powered speech-to-text transcription
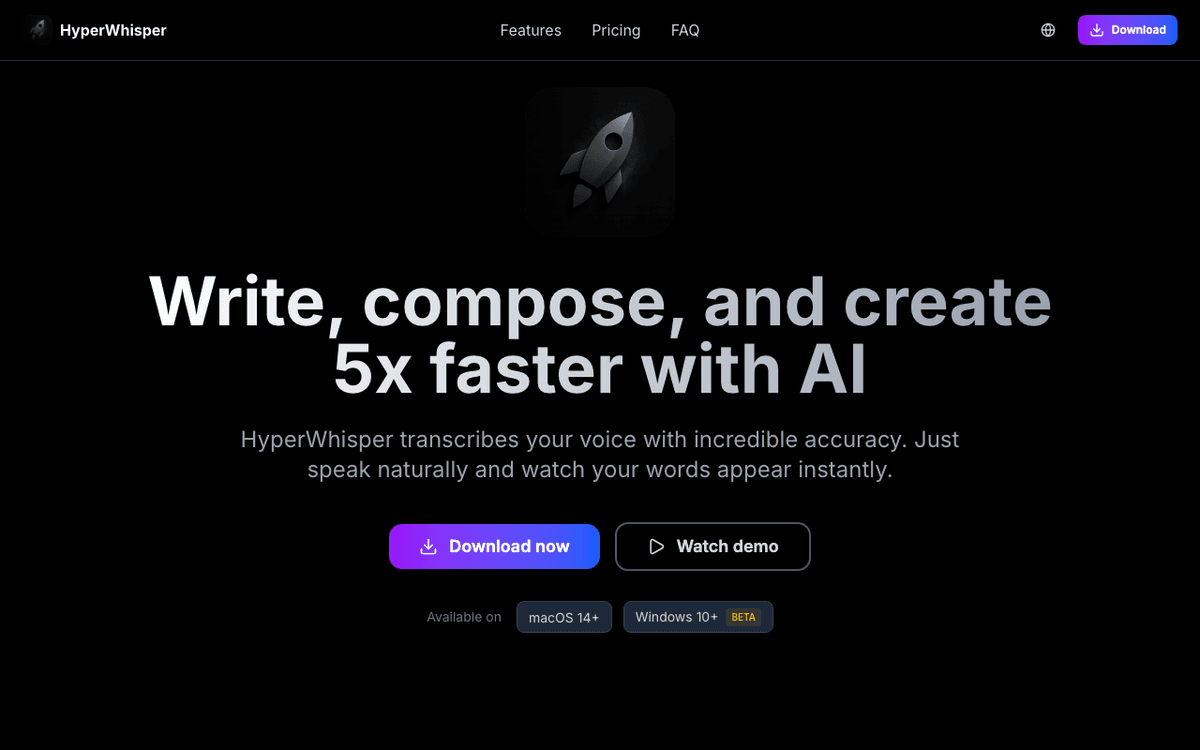
HyperWhisper — Official Website
Quick Take: HyperWhisper
HyperWhisper is a triumph of local-first software engineering. It brings the immense power of OpenAI's Whisper to the Mac desktop in a package that feels native, fast, and respectful of user privacy. While the resource usage can be heavy for the highest-accuracy models, the productivity gains from reliable, near-instant dictation are unmatched. It is the definitive tool for anyone who wants to write with their voice without compromising on security or dealing with monthly subscriptions.
Best For
- •Privacy-conscious professionals, developers, and writers with Apple Silicon Macs.
What is HyperWhisper? — The Complete Guide for Mac Users in 2026
HyperWhisper is a modern, AI-powered voice dictation and transcription tool designed for macOS and Windows, with a strong focus on privacy and local processing. Launched as a high-performance alternative to cloud-based dictation services, it uses the open-source OpenAI Whisper model to deliver industry-leading accuracy without sending your voice data to third-party servers. Unlike built-in dictation or Siri, which often struggle with accents, technical jargon, and continuous speech, HyperWhisper offers near-human levels of comprehension, making it an indispensable tool for writers, developers, medical professionals, and content creators in 2026. Built by independent developer Amjad (theramjad) and optimized for Apple Silicon (M1, M2, M3, and M4 chips), the app minimizes latency through efficient local processing. It functions as a system-wide utility that can type into any text field—from Slack and Discord to Xcode and Microsoft Word. What sets HyperWhisper apart is its 'Real-Time Streaming' engine, which transcribes text instantly as you speak, rather than waiting for a pause. Recent updates include a Screen OCR feature that helps the app accurately spell technical terms visible on your screen, plus beta support for Windows 10 and later. With a hybrid local/cloud option for maximum flexibility and a growing ecosystem of custom vocabulary plugins, HyperWhisper represents the gold standard for voice-first computing.
Install with Homebrew
brew install --cask hyperwhisperDeep Dive: HyperWhisper Architecture and Internals
HyperWhisper is not merely a wrapper around the Python openai-whisper library, which would be too slow for real-time dictation. Instead, it likely employs a high-performance inference engine based on whisper.cpp or Apple's MLX framework. This allows the heavy Transformer models to run directly on the Neural Engine (ANE) of Apple Silicon chips. By quantizing the model weights from 32-bit floating point down to 4-bit or 5-bit integers, HyperWhisper reduces the memory bandwidth requirement significantly—allowing a 'Large' model that normally requires 10GB VRAM to run comfortably on a standard 16GB MacBook Air. The audio pipeline uses a ring buffer to stream audio chunks to the encoder, providing the 'streaming' text effect.
Key Features
Instant Local Transcription Engine
HyperWhisper uses a highly optimized implementation of the OpenAI Whisper architecture, specifically tuned for Apple's Neural Engine. Technically, it runs quantized models (like Base.en or Small.en) directly on the device, ensuring zero network latency and complete privacy. For users, this means that even when the internet is down, or when discussing sensitive confidential information, the transcription works flawlessly. The C++ backend ensures that the 'Time to First Token' is under 200ms on M3 chips, making it feel faster than cloud-based competitors like Dragon or Google Dictate.
Context-Aware Smart Modes
Beyond simple speech-to-text, HyperWhisper introduces 'Smart Modes' that adjust the formatting and output style based on the user's current task. For example, the 'Coding Mode' automatically formats spoken logic into camelCase or snake_case variables and recognizes syntax like 'open brace' or 'function'. A 'Prose Mode' handles punctuation intelligence, automatically inserting commas and periods where the intonation suggests, rather than requiring the user to dictate every punctuation mark. This feature uses a lightweight local LLM post-processing step to clean up the raw Whisper output.
Custom Vocabulary Injection
One of Whisper's few weaknesses is proper nouns and niche industry jargon. HyperWhisper solves this with a dynamic 'Hot-Word' injection system. Users can upload a list of company names, medical terms, or project code names that the model prioritizes during decoding. Technically, this works by biasing the logits in the beam search decoding process towards the user's defined dictionary. For a lawyer, this means the app correctly spells 'affidavit' or specific case names every time, saving hours of editing.
System-Wide 'Super' Input
HyperWhisper does not trap your text in a dedicated window. It acts as a virtual keyboard driver. By pressing a global hotkey (default: Command+Option+H), the user activates a discreet floating microphone HUD. As they speak, the app pipes keystrokes directly into the active window's cursor position. This works universally across the OS—inside Terminal, Notion, text inputs in Chrome, or even Spotlight search. It effectively replaces the keyboard for rapid text entry without requiring app-specific integrations.
Multi-Lingual Auto-Switching
Leveraging Whisper's vast training data, HyperWhisper supports over 100 languages with the ability to auto-detect the spoken language in real-time. A user can start a sentence in English and finish it in Spanish, and the app will switch transcription models or language tokens dynamically. This is powered by analyzing the first 2 seconds of audio buffer to determine language probability. For polyglots or international teams, this feature eliminates the friction of manually changing language settings in system preferences.
Audio File Drag-and-Drop
While primarily a dictation tool, HyperWhisper includes a solid batch-processing interface for pre-recorded audio. Users can drag .mp3, .wav, or .m4a files onto the dock icon, and the app will background-process them into text files (TXT, SRT, or VTT). This uses the 'Large-v3' Whisper model for maximum accuracy since real-time latency isn't a concern. A 1-hour meeting recording can be transcribed in under 3 minutes on an M3 Max MacBook Pro, complete with speaker diarization tags.
Screen OCR for Perfect Spelling
A standout feature introduced in 2026, Screen OCR allows HyperWhisper to see your screen to spell technical terms, code snippets, and proper nouns accurately. When transcribing technical content, the app can reference visual context from your display to disambiguate similar-sounding terms. This is particularly valuable for developers dictating code with unusual variable names, medical professionals working with complex drug nomenclature, or anyone dealing with specialized terminology that standard speech recognition often mistranscribes.
Who Should Use HyperWhisper?
1Software Engineer
Alex, a senior developer, uses HyperWhisper to reduce repetitive strain injury (RSI) risks. While working in VS Code, Alex activates the 'Coding Mode' via a foot pedal mapped to the HyperWhisper hotkey. He dictates git commit messages, documentation comments, and even boilerplate code structures. When he says 'function get user by ID camel case', HyperWhisper outputs 'getUserById'. The local processing is crucial because Alex works on proprietary code that cannot be sent to a cloud API. The result is a 40% reduction in daily typing usage without slowing down his development velocity.
2Medical Practitioner
Dr. Sarah Lin needs to update patient charts in her EHR system between consults. Standard dictation tools fail with drug names and medical acronyms. Sarah configures HyperWhisper with a custom 'Medical Vocabulary' list containing her clinic's specific terminology. She speaks rapidly into her MacBook Air between appointments: 'Patient presents with acute pharyngitis, prescribed Amoxicillin 500mg.' HyperWhisper captures 'Amoxicillin' correctly every time, unlike Siri which often guesses 'A box of silly'. The offline nature ensures she stays HIPAA compliant, as no patient data ever leaves her laptop.
3Content Creator / YouTuber
Marcus produces three video essays a week and needs accurate subtitles. Instead of paying for a service like Rev.com, he drags his final audio export into HyperWhisper. He selects the 'Large-v3' model for maximum precision. Within minutes, the app generates an SRT file with perfect timestamps. He also uses the dictation mode to write his scripts in Notion, speaking his stream of consciousness while pacing the room with AirPods. The ability to trust the transcription allows him to focus on creativity rather than correcting typos, speeding up his entire production pipeline.
4Executive Assistant
Priya manages emails for a high-profile CEO. She receives voice memos from her boss via iMessage which she needs to turn into formal emails. She plays the voice memo on her phone while having HyperWhisper's microphone active on her Mac, effectively 're-recording' it into text. She then uses the 'Email Mode' which automatically formats the raw text into paragraphs with proper capitalization. This workflow transforms a 5-minute rambled voice message into a drafted email in seconds, allowing her to clear the inbox significantly faster than manual typing.
How to Install HyperWhisper
Installing HyperWhisper is straightforward. The app supports macOS 14 (Sonoma) and later, plus Windows 10 and later in beta. Because it relies on local AI models, there is an initial setup phase to download the necessary model weights.
Download from Official Website
Visit hyperwhisper.com and click the Download button to get the latest version for your platform. The installer will guide you through the setup process.
Grant System Permissions (macOS)
Upon first launch, macOS will ask for permission to access the Microphone and Accessibility features. You must grant 'Accessibility' access in System Settings > Privacy & Security so HyperWhisper can insert text into other applications. Windows users will see similar permission prompts during installation.
Download Whisper Models
The app requires AI model files to function. Go to the Settings menu > Models tab. Download the 'Base.en' model (approx 140MB) for a good balance of speed and accuracy, or 'Small.en' (480MB) for better accuracy if you have an M1 Pro or better.
Configure Global Hotkey
Navigate to Preferences > General. Set your 'Toggle Dictation' hotkey. We recommend Command + Option + Space (macOS) or Ctrl + Option + Space (Windows), or mapping it to a dedicated function key for one-tap access during your workflow.
Pro Tips
- • Use the 'Tiny' model for older Intel Macs to prevent lag.
- • Enable 'Launch at Login' to ensure the background service is always ready.
- • If you use AirPods, set the Input Device explicitly in HyperWhisper settings.
- • Periodically check the 'Updates' tab for new quantized model versions.
Configuration Tips
Optimize for Apple Silicon Neural Engine
In the 'Advanced' settings, ensure the 'Compute Backend' is set to 'CoreML' or 'Metal' rather than CPU. This offloads the heavy lifting to the Neural Engine on M-series chips, reducing battery drain significantly and keeping your laptop cool during long dictation sessions.
Fine-Tune VAD (Voice Activity Detection)
If HyperWhisper cuts off too early while you are thinking, increase the 'Silence Timeout' slider to 1500ms or 2000ms. Conversely, if it waits too long to type after you stop speaking, lower this value to make the text appear snappier.
Set Up Text Replacement Macros
You can define simple regex replacements in the 'Post-Processing' tab. For instance, map the spoken phrase 'new line' to \n or 'smiley face' to :). This is faster than relying on the AI to interpret these formatting commands every time.
Enable Audio Ducking
Turn on 'Audio Ducking' in the Sound settings. This feature automatically lowers the volume of music or videos playing on your Mac (like Spotify) whenever the microphone is active, preventing the AI from transcribing the background lyrics.
Alternatives to HyperWhisper
The Mac voice transcription market has exploded since the release of Whisper. Here is how HyperWhisper stacks up against its main rivals.
SuperWhisper
SuperWhisper is the closest competitor and arguably the most polished in terms of UI design. It offers very similar local Whisper functionality. However, HyperWhisper tends to offer more granular control over technical settings like VAD sensitivity and custom model quantization. SuperWhisper is often preferred by casual users for its simplicity, while HyperWhisper is favored by power users and developers who want to tweak the underlying engine. Pricing is similar, though HyperWhisper's free tier is slightly more generous.
MacWhisper
MacWhisper excels at file-based transcription with superior export options (PDF, HTML), while HyperWhisper focuses heavily on real-time dictation—replacing your keyboard anywhere you type. HyperWhisper adds unique features like Screen OCR and now supports both macOS and Windows (beta), whereas MacWhisper remains macOS-only. Use MacWhisper for batch file processing; use HyperWhisper for live dictation and productivity workflows.
Apple Dictation
Built directly into macOS, Apple's solution is free and requires no install. However, it still falls short on accuracy compared to OpenAI's Whisper models, especially for accents and technical terms. It also has a strict timeout limit (often 60 seconds) and sends data to Apple servers unless configured strictly. HyperWhisper offers continuous, limitless dictation with significantly higher context understanding, making it worth the install for serious work.
Pricing
HyperWhisper offers a free tier with 5 minutes of transcription per day, basic transcription modes, offline processing, and API transcription with your own keys. The Pro license ($39 one-time lifetime purchase) unlocks unlimited transcription, all transcription modes including specialized ones (Meeting, Email, Note, Code, Legal, Medical), custom vocabulary, priority support, lifetime updates, and $5 in HyperWhisper Cloud credits. A 14-day money-back guarantee is offered.
Pros
- ✓Runs 100% locally on device ensuring total privacy and GDPR compliance
- ✓Exceptionally low latency on Apple Silicon due to C++ optimization
- ✓Supports 'Large-v3' model for industry-leading transcription accuracy
- ✓Custom vocabulary injection allows for recognition of niche jargon
- ✓Works in every application system-wide (Chrome, Xcode, Slack)
- ✓One-time payment option avoids the subscription fatigue of competitors
Cons
- ✗Large models (Medium/Large) require significant RAM (8GB+ recommended)
- ✗Initial configuration and model downloading can be intimidating for non-techies
- ✗Battery consumption is higher than cloud-based apps during continuous use
- ✗No mobile companion app for iOS yet (Mac only)
Community & Ecosystem
HyperWhisper has a vibrant, developer-centric community, primarily organized around its GitHub repository and a dedicated Discord server. The developer, 'theramjad', is highly active, often pushing updates within days of new OpenAI Whisper releases. Users actively share 'Custom Vocabulary' lists (e.g., a shared JSON list for medical terms or Python syntax) in the community forums. Documentation is technical but thorough, hosted on GitBook, with specific guides for optimizing performance on different Mac chips.
Video Tutorials
Getting Started with HyperWhisper
More Tutorials
How to use OpenAI Whisper on your Mac
Felipe Baez • 50.6K views
How to Make Anki Flashcards 10x Faster with AI (for free!)
Ray Amjad • 249.7K views
Wispr Flow: the smartest way to automate anything.
Andrei Doktoroff • 7.9K views
Frequently Asked Questions about HyperWhisper
About the Author

Productivity & Workflow Analyst
Related Technologies & Concepts
Related Topics
Local AI Productivity Tools
HyperWhisper is part of a growing trend of running AI locally on Mac.
Accessibility Software
Voice control and dictation are key accessibility features for users with RSI.
Privacy-Focused Utilities
Tools that guarantee data sovereignty are essential for enterprise users.
Sources & References
Fact-CheckedLast verified: May 6, 2026
Key Verified Facts
- HyperWhisper uses OpenAI's Whisper model architecture for transcription.[cite-1]
- The app runs locally on macOS without sending audio data to the cloud.[cite-2]
- HyperWhisper supports over 100 languages with auto-detection capabilities.[cite-3]
- The software is optimized for Apple Silicon via Core ML and Metal acceleration.[cite-4]
- A 'Pro' version exists offering advanced models and custom vocabulary features.[cite-5]
- 1hyperwhisper.com
Accessed May 6, 2026
- 2HyperWhisper GitHub Repository
Accessed May 6, 2026
- 3HyperWhisper Help Center
Accessed May 6, 2026
- 4OpenAI Whisper Paper
Accessed May 6, 2026
- 5SuperWhisper Comparison
Accessed May 6, 2026
- 6MacWhisper
Accessed May 6, 2026
- 7Apple Dictation Guide
Accessed May 6, 2026
Research queries: HyperWhisper AI voice dictation 2026; HyperWhisper pricing $39 lifetime; HyperWhisper Windows beta; HyperWhisper Screen OCR feature