Grammarly
AI writing assistant for every platform
Grammarly — Official Website
Quick Take: Grammarly
NaNA solid choice in its category.
What is Grammarly Desktop? — Complete Guide for Mac Users in 2026
Grammarly Desktop for Mac represents the evolution of digital writing assistance, transforming from a simple browser extension into a comprehensive, system-wide utility that integrates deeply with macOS. As of 2026, it stands as the premier AI-powered communication assistant, designed to overlay virtually every application on your Mac—from native tools like Apple Notes, Pages, and Mail to third-party powerhouses like Slack, Discord, and Microsoft Word. Unlike its predecessors that required users to copy-paste text into a dedicated editor, Grammarly Desktop floats unobtrusively over your active window, providing real-time suggestions for grammar, spelling, punctuation, clarity, engagement, and delivery. For Mac users in 2026, the application has been optimized for Apple Silicon (M1, M2, M3, and M4 chips), ensuring that its background processes are energy-efficient and do not compromise the battery life of MacBooks. The integration aligns with the aesthetic of macOS Sequoia, utilizing native UI elements and floating widgets that feel at home in the Apple ecosystem. Beyond basic error correction, the app now heavily uses Generative AI to offer context-aware rewriting, tone adjustments, and idea generation, positioning itself not just as a proofreader but as a co-author. This tool is essential for a wide range of users—from students finalizing dissertations to remote professionals managing asynchronous communication. Its significance has grown as remote work solidifies its place in the modern economy; clear, tone-appropriate text is often the only way to convey intent. While Apple Intelligence has introduced native writing tools to the OS, Grammarly Desktop distinguishes itself through deeper linguistic nuance, a platform-agnostic personal dictionary that syncs across devices, and specialized features like plagiarism detection and domain-specific style guides for enterprise users. It bridges the gap between raw text generation and polished, professional communication, acting as a second set of eyes that understands the context of your writing, whether you are drafting a tweet or a technical white paper.
Install with Homebrew
brew install --cask grammarly-desktopKey Features
System-Wide Floating Widget
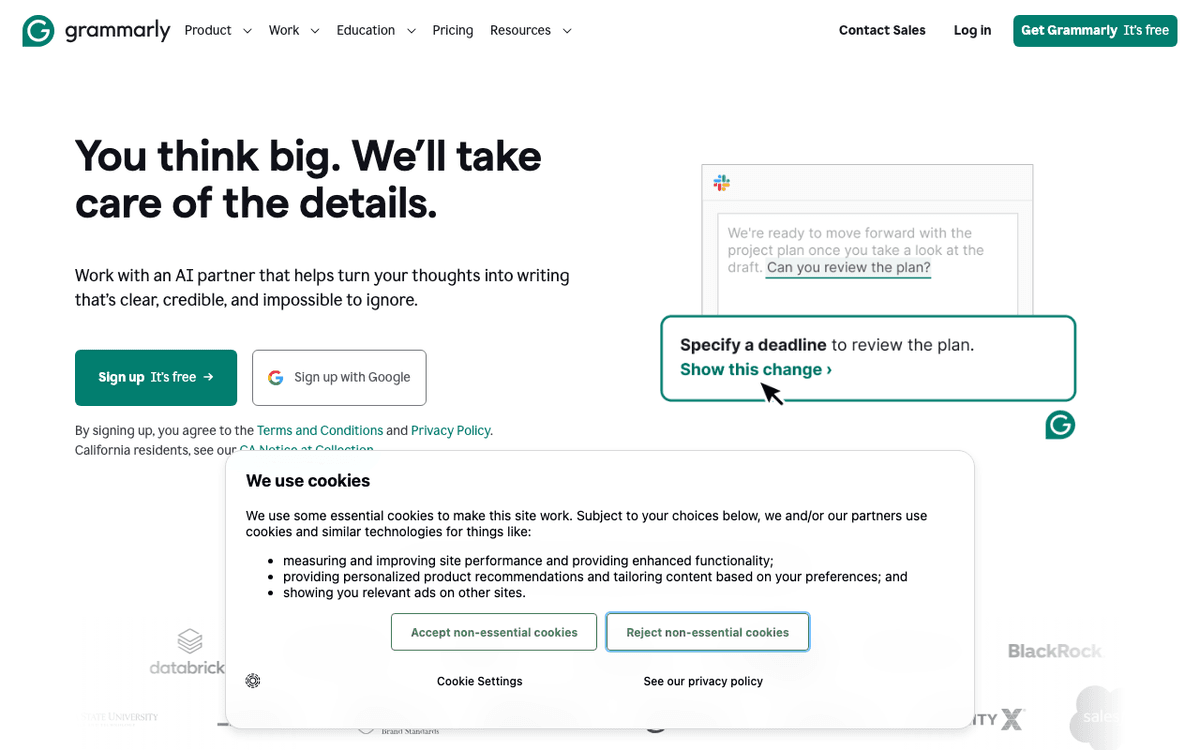
The defining feature of Grammarly Desktop is its ability to break out of the browser. Once installed, a discreet 'G' icon or floating widget accompanies your cursor in almost every text field across macOS. Whether you are typing a quick message in iMessage, drafting a document in Pages, or coding comments in VS Code, the widget provides immediate feedback. It uses Accessibility permissions to read the text you are typing in real-time, offering underlined suggestions directly within the native interface of the app you are using. This eliminates the friction of context switching, ensuring your writing is polished without ever leaving your current workflow. The widget can be repositioned or temporarily dismissed, giving users control over their screen real estate.
Generative AI Rewrites & Ideation
Moving beyond simple correction, Grammarly's generative AI features allow users to rewrite entire paragraphs with a single click. In 2026, this feature has matured to understand complex prompts. You can highlight a block of text and ask Grammarly to 'make it sound more professional,' 'shorten this for clarity,' or 'convert this bullet list into a narrative paragraph.' It also functions as an ideation partner; if you are staring at a blank page in Apple Notes, you can prompt the AI to draft an outline or generate an introductory sentence. This feature is context-aware, meaning it adjusts its output based on the application you are using—suggesting shorter, punchier text for Slack and more formal, structured prose for Microsoft Word.
Advanced Tone Detector
Understanding how your message will be received is just as important as correct grammar. The Advanced Tone Detector analyzes your word choice, phrasing, and punctuation to identify the emotional resonance of your text. It provides a real-time visual indicator (e.g., an emoji representing 'Friendly,' 'Formal,' 'Accusatory,' or 'Confident'). If your email to a client sounds too blunt or aggressive, Grammarly will flag it and suggest softer alternatives. This feature is particularly valuable for remote teams where lack of facial cues can lead to misinterpretation. In the 2026 version, the tone detector is nuanced enough to detect sarcasm and passive-aggressive undertones, helping users maintain professional relationships.
Full-Sentence Rewrites for Clarity
While basic spell-checkers focus on individual words, Grammarly Desktop analyzes the syntactic structure of full sentences. It identifies convoluted phrasing, passive voice overuse, and redundant words that dilute your message. The app will suggest completely restructuring a sentence to improve readability and impact. For example, it might turn 'There is a possibility that we might be able to finish the project by Friday' into 'We may finish the project by Friday.' These suggestions appear as blue underlines (distinct from red spelling errors), helping users learn to write more concisely over time. This feature is crucial for non-native English speakers or anyone looking to sharpen their writing style.
Plagiarism Detection (Premium)
For students, academics, and content creators, the integrated plagiarism checker is a critical safeguard. Unlike standalone checkers that require file uploads, Grammarly Desktop can cross-reference your current document against billions of web pages and academic papers in the background. If it detects a significant match, it flags the text and provides a citation source. This feature helps prevent accidental plagiarism by highlighting missing attributions. In the desktop app, this runs on-demand rather than automatically to save resources, but it provides a seamless way to verify the originality of a document before hitting 'Send' or 'Submit,' directly within your word processor of choice.
Personal Dictionary & Style Guide
Grammarly Desktop syncs your personal dictionary across all devices, ensuring that proper nouns, specialized terminology, or creative spellings you use frequently aren't flagged as errors. For Business users, this extends to a shared Organization Style Guide. This feature ensures consistency across a team; if your company spells a product name in a specific way (e.g., 'SaaS' instead of 'Saas'), Grammarly will enforce that rule for every employee. It can even prompt users to avoid specific jargon or non-inclusive language defined by the organization. This creates a unified brand voice across emails, support tickets, and marketing copy without requiring manual enforcement.
Who Should Use Grammarly?
1The Academic Researcher
A PhD student uses Grammarly Desktop while writing a thesis in Microsoft Word and compiling notes in Obsidian. The app helps manage citation formats, ensures formal academic tone, and catches complex grammatical errors that Word's native checker misses. The plagiarism checker provides peace of mind before submitting drafts to supervisors, while the vocabulary enhancement suggestions help vary language usage to avoid repetition in long-form text.
2The Remote Project Manager
Working primarily in Slack, Asana, and Zoom chat, this user relies on the Tone Detector to ensure their fast-paced updates don't come across as rude or demanding. Grammarly Desktop floats over the Slack input field, catching typo-ridden quick replies and suggesting clearer phrasing for task descriptions in Asana. The generative AI feature helps them quickly expand bullet points from a meeting into a full project brief in Google Docs.
3The Non-Native English Professional
An expatriate software engineer working in Silicon Valley uses Grammarly to polish technical documentation and internal emails. The app assists with preposition usage and article placement (a/an/the), which are common pain points. The 'Full-Sentence Rewrite' feature is their most-used tool, helping them convert direct translations from their native language into idiomatic, natural-sounding Business English, boosting their confidence in cross-functional communication.
4The Content Marketer
Drafting copy across multiple platforms—social media schedulers, WordPress, and email marketing tools—this user needs consistent brand voice. They use the Style Guide feature to ensure product names are capitalized correctly. They use the generative AI to shorten a blog post intro into a punchy LinkedIn caption. Grammarly ensures no embarrassing typos slip through in a newsletter sent to 10,000 subscribers, acting as a final line of defense.
How to Install Grammarly Desktop on Mac
Installing Grammarly Desktop is straightforward, but it requires specific system permissions to function correctly across all your applications. Here is the most efficient way to get it running on macOS.
Install via Homebrew (Recommended)
For the cleanest installation that is easy to update, use the Homebrew package manager. Open your Terminal app and paste the following command: brew install --cask grammarly-desktop
Manual Download (Alternative)
If you do not use Homebrew, navigate to the official Grammarly website, download the .dmg file for Mac, open it, and drag the Grammarly icon into your Applications folder.
Grant Accessibility Permissions
Upon first launch, Grammarly will prompt you to grant Accessibility access. This is mandatory. Click 'Open System Settings', navigate to Privacy & Security > Accessibility, and toggle the switch ON for Grammarly. This allows the app to 'read' the text fields you type in.
Sign In and Configure
The app will launch a browser window to sign in to your account. Once authenticated, return to the desktop app. You will see the floating widget appear. Complete the onboarding tour to set your language preference (e.g., American vs. British English).
Pro Tips
- • Add Grammarly to your Login Items (System Settings > General > Login Items) if you want it ready every time you boot your Mac.
- • If the widget disappears, look for the Grammarly icon in the macOS menu bar at the top of the screen to relaunch or access settings.
- • Restart your browser or specific apps like Word after installation if the widget doesn't appear immediately.
Configuration Tips
Customize the Block List
Grammarly can sometimes be intrusive in applications where you don't need it, such as terminal emulators, code editors like VS Code, or sensitive password managers. Go to Grammarly Settings > Block List and add specific applications. This prevents the widget from loading in those apps, saving system resources and preventing the AI from trying to 'correct' your Python or JavaScript code.
Set Regional English Variations
By default, Grammarly may assume American English. If you are writing for a UK, Canadian, or Australian audience, it is crucial to change this setting. Go to Settings > Account > Writing Preferences and select your primary dialect. This ensures accurate correction of spelling variations like 'color' vs 'colour' or 'organize' vs 'organise' without false positives cluttering your screen.
Disable Widget for Distraction-Free Writing
The floating Grammarly widget can be distracting during deep work sessions. You don't have to quit the app to hide it. Click the Grammarly icon in the menu bar and choose to turn off suggestions for 'the next 30 minutes' or indefinitely for the current app. This allows you to draft freely without constantly seeing red underlines, enabling you to switch Grammarly back on later for the editing phase.
Tune Generative AI Prompts
If you use the 'Improve it' or generative AI features, you can customize the default tone profiles in your account settings. If you never write 'Casual' content, you can set the default AI rewrite tone to 'Professional' or 'Academic'. This saves you from manually selecting the tone every time you ask Grammarly to rewrite a paragraph, streamlining your editing workflow.
Alternatives to Grammarly
While Grammarly is the market leader, the landscape for writing assistants on Mac has grown competitive, especially with privacy-focused and native options rising in popularity.
Apple Intelligence (Native Writing Tools)
Introduced in macOS Sequoia, Apple's native Writing Tools offer system-wide rewriting, proofreading, and summarizing without a subscription. The main advantage is privacy—processing happens largely on-device—and zero cost. However, Grammarly still outperforms Apple's solution in detailed grammar explanations, tone detection, and plagiarism checking. Apple's tools are great for basic cleanup, but Grammarly remains superior for deep stylistic editing and professional-grade feedback.
LanguageTool
LanguageTool is the strongest privacy-conscious alternative. Unlike Grammarly, it offers an offline mode (for premium users) and stores less data in the cloud. It is particularly popular among academics and multilingual users because it supports over 20 languages, whereas Grammarly is English-only. However, Grammarly's UI is generally more polished, and its generative AI features are currently more advanced and better integrated into the macOS workflow than LanguageTool's offerings.
ProWritingAid
ProWritingAid is the preferred choice for long-form fiction writers and authors using Scrivener. It offers deep analytical reports on pacing, sensory language, and dialogue tags that go far beyond Grammarly's scope. While Grammarly is better for general web writing, emails, and business documents, ProWritingAid excels at manuscript editing. However, its real-time checking engine can be slower and more resource-intensive on Mac compared to Grammarly's optimized desktop client.
Pricing
Grammarly offers a solid Free plan that covers critical grammar, spelling, and punctuation errors, along with tone detection. The Pro plan (Premium) is $30/month or $12/month when billed annually ($144/year), unlocking full-sentence rewrites, vocabulary enhancements, tone adjustments, and plagiarism detection. Grammarly Plus offers a lighter AI writing assistant at ~$10.55/month or ~$49.58/year. Business plans start at $25/user/month for teams of 3+. The Free version is sufficient for casual users, but Pro is recommended for professional writers and students.
Pros
- ✓Seamless system-wide integration works over almost any Mac app (Slack, Word, Discord).
- ✓Highly accurate grammar and spell-checking that understands context better than standard spell-checkers.
- ✓Tone detector provides valuable social intelligence for remote communication.
- ✓Generative AI features help overcome writer's block and speed up rewriting tasks.
- ✓Cross-platform syncing ensures your personal dictionary and preferences follow you to iOS and Windows.
- ✓Native support for Apple Silicon guarantees efficient battery usage and performance.
Cons
- ✗Requires a constant internet connection for most features; no offline mode available.
- ✗Privacy concerns regarding cloud-based text processing (though they have strict certifications).
- ✗The Premium subscription is relatively expensive compared to competitors like LanguageTool.
Community & Ecosystem
Grammarly has a massive, passive user base rather than a tinkering community. However, their official blog is a high-quality resource for writing tips, and their support documentation is extensive. The 'Grammarly for Developers' program has allowed for some integrations, though the Desktop app is closed-source. You will find active discussions on Reddit (r/Grammarly) regarding updates, bug fixes, and feature requests. Support is primarily handled via email and ticketing systems, known for being responsive. The ecosystem is strong, with the desktop app bridging the gap between their mobile keyboard and browser extensions, creating a unified experience.
Video Tutorials
Getting Started with Grammarly
More Tutorials
Grammarly for Mac: Tutorial
Bryan Collins • 25.3K views
How to Install Grammarly on Mac (2min tutorial)
How To Mark • 4.1K views
How To Use Grammarly On Mac? - Be App Savvy
Be App Savvy • 180 views
Frequently Asked Questions about Grammarly
About the Author

Productivity & Workflow Analyst