The Unarchiver
Unpacks archive files like ZIP, RAR, and more
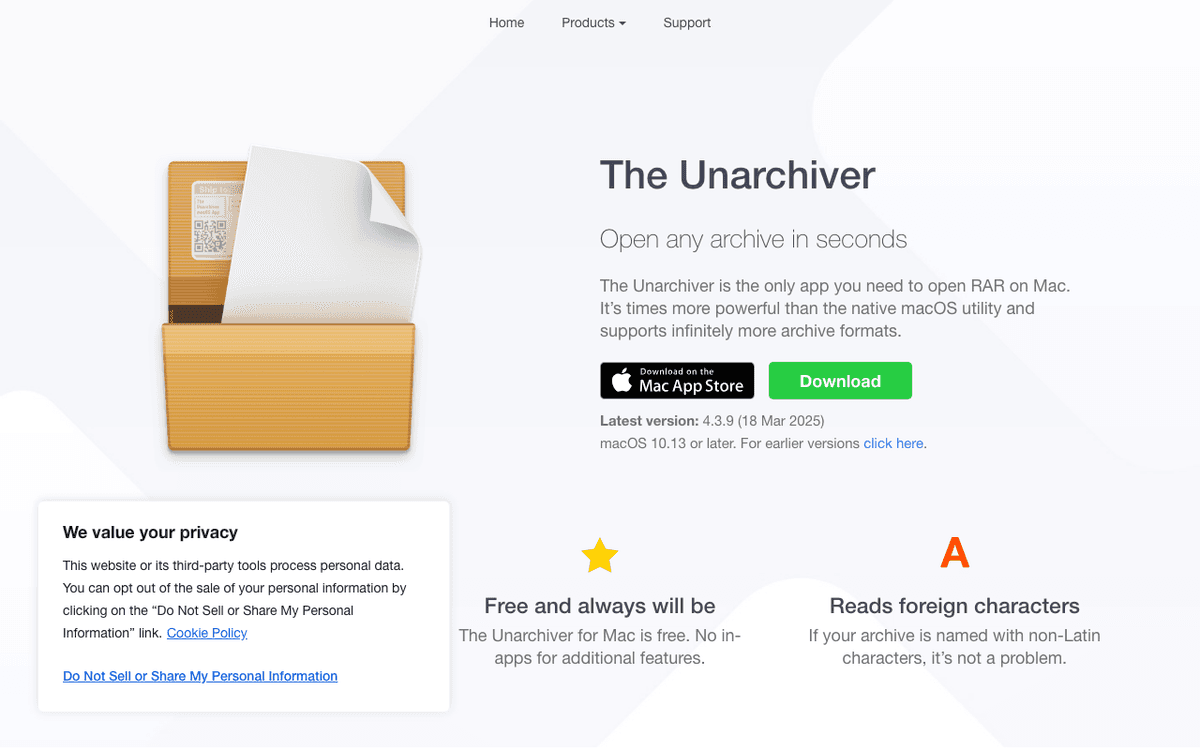
The Unarchiver — Official Website
Quick Take: The Unarchiver
The Unarchiver is the simplest solution for opening archive files on macOS. Install it, set it as default, forget about it. Every archive format works when you double-click in Finder. The character encoding detection is a standout feature for international users. The only limitation is that it can't create archives—pair it with Keka if you need compression. For pure extraction, The Unarchiver is free, reliable, and does exactly what it should.
Best For
- •Mac users who receive .rar and .7z files and can't open them
- •Users who work with files from international sources (encoding detection)
- •Anyone who wants set-and-forget archive extraction
- •Non-technical users who want archives to just work
What is The Unarchiver?
The Unarchiver is a free macOS app that extracts compressed archive files. That's all it does—no compression, no archive creation, just extraction. You double-click an archive and The Unarchiver opens it. It supports practically every archive format: ZIP, RAR, 7z, TAR, GZIP, BZIP2, LZH, ARJ, ARC, and dozens of obscure formats most people never encounter. The value proposition is simple: macOS's built-in Archive Utility only handles ZIP files. If someone sends you a .rar or .7z file—still extremely common in 2026—macOS can't open it. The Unarchiver can. Install it, set it as the default archive handler, and every archive format just works when you double-click it in Finder. The Unarchiver was originally created by Dag Ågren and is now maintained as an open-source project. It's available for free on the Mac App Store (where it's one of the top free utilities) and via Homebrew. The app has been around since 2009 and has accumulated millions of installations. It's a 'set it and forget it' utility: install once, configure once, never think about it again. The Unarchiver's limitation is that it only extracts—it can't create archives. If you need to compress files into .7z or .zip, you need a tool like Keka or the built-in 'Compress' option in Finder. For many users, this is fine: they receive archives from others but never create them. The Unarchiver handles the receiving side perfectly. One important detail: The Unarchiver handles character encoding gracefully. Archives created on Windows or Linux with non-ASCII filenames (Japanese, Chinese, Korean, Cyrillic, accented European characters) often show garbled filenames when extracted with macOS's Archive Utility. The Unarchiver detects the encoding and extracts with correct filenames. This makes it particularly valuable for users who work with files from international sources.
Install with Homebrew
brew install --cask the-unarchiverDeep Dive: Character Encoding in Archives — Why Filenames Break
The character encoding problem in archives is one of those issues that seems trivial but affects millions of users.
History & Background
In the early days of computing, different regions used different character encodings: Shift-JIS for Japanese, GBK for Chinese, EUC-KR for Korean, Windows-1252 for Western European. Archives created on Windows stored filenames in the local encoding. When extracted on macOS (which uses UTF-8), the filenames appeared as garbled characters—mojibake. The Unarchiver solved this by detecting the source encoding and converting to UTF-8.
How It Works
The Unarchiver uses heuristic encoding detection (similar to how browsers detect webpage encoding) to identify the character encoding used in archive metadata. It examines byte patterns, character frequency, and structural clues to determine the most likely encoding. This works correctly in the vast majority of cases.
Ecosystem & Integrations
macOS's Archive Utility doesn't do encoding detection—it assumes UTF-8 and garbles anything else. Keka handles encoding better than Archive Utility but The Unarchiver's detection is more sophisticated. On Windows, 7-Zip has similar encoding handling. The underlying problem is that the ZIP format specification originally didn't require UTF-8—it was only mandated in later versions.
Future Development
The encoding problem is slowly resolving as more tools create archives with UTF-8 filenames by default. But legacy archives and some Windows software still use local encodings. The Unarchiver's encoding detection will remain relevant for years.
Key Features
Exhaustive Format Support
The Unarchiver extracts ZIP, RAR (including v5), 7z, TAR, GZIP, BZIP2, LZMA, XZ, CAB, MSI, NSIS, EXE (self-extracting), ISO, BIN, LZH, ARJ, ARC, PAK, ZOO, LBR, WARC, and more. The format list includes formats that haven't been common since the 1990s (ARJ, ARC, ZOO), but if you somehow encounter one, The Unarchiver handles it. For practical purposes, it opens everything.
Automatic Encoding Detection
Archives created on Windows with Shift-JIS, GBK, EUC-KR, or Windows-1252 encoded filenames often appear garbled on macOS. The Unarchiver detects the filename encoding and converts it to proper Unicode. This is especially important for users who work with files from Japan, China, Korea, or Eastern Europe.
Finder Integration as Default Handler
Set The Unarchiver as the default application for archive file types. After that, double-clicking any supported archive in Finder extracts it with The Unarchiver instead of the limited Archive Utility. You can configure this globally or per file type.
Extraction Location Options
Choose where extracted files go: same folder as the archive, Desktop, Downloads folder, a custom folder, or ask every time. The 'same folder' option is the most natural—you extract right where the archive is.
Create Folder Behavior
The Unarchiver can create a new folder for extracted contents or extract directly. If an archive contains a single folder, it can skip creating an extra wrapper folder (preventing double-nesting). This intelligent behavior avoids the annoying 'folder inside a folder' problem.
Password-Protected Archive Support
When you open a password-protected archive, The Unarchiver prompts for the password before extracting. It handles encrypted ZIP, 7z, and RAR archives.
Move Archive to Trash After Extraction
Optionally delete (move to Trash) the archive file after successful extraction. This keeps your Downloads folder clean—you extract the file and the .zip or .rar disappears automatically.
Spotlight and Quick Look Integration
The Unarchiver includes a Quick Look plugin that lets you preview archive contents by pressing Space in Finder. You can see file names and sizes without extracting. Spotlight also indexes archive contents for search.
Who Should Use The Unarchiver?
1The Non-Technical Mac User
Someone emails you a .rar file. You double-click it and macOS says it can't open it. You Google the problem, install The Unarchiver from the App Store, and double-click again. It extracts. You never think about archive formats again because every format just works.
2The International File Handler
You receive ZIP files from Japanese colleagues. When you extract with Archive Utility, the folder names are garbled mojibake characters. Install The Unarchiver, extract the same files, and the Japanese filenames display correctly. The encoding detection fixes a problem Apple hasn't bothered to solve.
3The Downloads Folder Minimalist
Your Downloads folder fills up with .zip, .rar, and .7z files that you've already extracted. Enable 'Move archive to trash after extraction' and The Unarchiver automatically cleans up after itself. You extract files and the archive disappears.
4The Retro Computing Hobbyist
You're downloading old software from archive.org that's compressed in ancient formats: ARJ, LZH, ARC. Modern tools can't open them. The Unarchiver handles formats from every era of computing—even the ones nobody remembers.
How to Install The Unarchiver on Mac
The Unarchiver is available from the Mac App Store and Homebrew.
Install via Homebrew
Run brew install --cask the-unarchiver in Terminal. Alternatively, download it for free from the Mac App Store.
Launch and Set as Default
Open The Unarchiver once. It will offer to set itself as the default handler for all supported archive formats. Accept this—it's the whole point.
Configure Extraction Settings
In Preferences, set your extraction destination (same folder recommended), folder creation behavior (create folder if there isn't one), and whether to move archives to trash after extraction.
Forget About It
The Unarchiver runs automatically whenever you double-click an archive. You'll never need to open it manually again.
Pro Tips
- • The 'Move to Trash' option keeps your Downloads folder clean—highly recommended.
- • If you also need to create archives, install Keka alongside The Unarchiver.
- • The Unarchiver handles formats Archive Utility can't: RAR, 7z, TAR.GZ, and more.
Configuration Tips
Enable 'Move to Trash' for Clean Downloads
In Preferences, enable 'Move archive to Trash after extraction'. Your Downloads folder stays clean because archives are removed after their contents are extracted.
Set Smart Folder Creation
Configure folder creation to 'Create folder if there isn't one'. This prevents archive contents from scattering across your directory while avoiding the double-folder problem when the archive already contains a root folder.
Pair with Keka for Full Archive Functionality
Install Keka for compression and keep The Unarchiver as the default extraction handler. The Unarchiver handles double-click extraction; Keka handles drag-and-drop compression from the dock.
Check File Associations After macOS Upgrades
Major macOS upgrades sometimes reset file associations. After upgrading, open The Unarchiver once to re-register as the default archive handler.
Alternatives to The Unarchiver
Archive extraction on macOS has several options:
Keka
Keka both creates and extracts archives. If you need compression (not just extraction), Keka is the better choice. Many users install both: The Unarchiver as the default double-click handler, and Keka in the dock for drag-and-drop compression.
Archive Utility (Built-in)
macOS's built-in utility handles ZIP only. No RAR, no 7z, no TAR.GZ. Also garbles non-ASCII filenames. The Unarchiver replaces it completely.
BetterZip
BetterZip ($24.95) offers archive browsing, Quick Look preview, and Finder toolbar integration. It's more polished but paid. For pure extraction, The Unarchiver is free and equally capable.
p7zip (Command Line)
Install via Homebrew (brew install p7zip) for command-line extraction: 7z x archive.7z. Best for scripts and automation.
Pricing
The Unarchiver is completely free on both the Mac App Store and Homebrew. No ads, no in-app purchases, no premium features. It's open-source and community-maintained.
Pros
- ✓Extracts every archive format you'll encounter (and many you won't)
- ✓Free with no ads or premium tier
- ✓Correct handling of non-ASCII filenames (Japanese, Chinese, Korean, etc.)
- ✓Set-and-forget: configure once, works automatically from Finder
- ✓Option to delete archives after extraction
- ✓Quick Look plugin for previewing archive contents
- ✓Available on the Mac App Store for easy discovery
- ✓Lightweight—minimal resource usage
Cons
- ✗Extraction only—cannot create archives
- ✗No archive browsing (can't view files without extracting)
- ✗No compression level selection (extraction only)
- ✗Quick Look plugin occasionally doesn't work after macOS updates
- ✗UI is minimal to the point of being non-existent—works but isn't pretty
Community & Legacy
The Unarchiver was originally created by Dag Ågren and has been a Mac essential since 2009. The project is now maintained by MacPaw and the underlying engine (XADMaster) remains open-source on GitHub. It remains one of the most downloaded free utilities on the Mac App Store and consistently appears in 'essential Mac apps' lists. The app's character encoding handling has made it particularly popular in East Asian countries where filename encoding issues are a daily frustration. Development continues with compatibility updates for new macOS versions.
Video Tutorials
Getting Started with The Unarchiver
More Tutorials
How to Open 7z Files with Unarchiver in Mac OS X
EvilComp • 11.1K views
How to Open Rar File on Mac | How to Extract RAR Files on macOS
ProgrammingKnowledge2 • 578.7K views
How to Install and Use The Unarchiver on macOS 26
Easy Tech Steps • 82 views
Frequently Asked Questions about The Unarchiver
About the Author

Productivity & Workflow Analyst
Related Technologies & Concepts
Related Topics
Sources & References
Key Verified Facts
- Confirms the app is a free macOS utility specifically designed to extract compressed archive files and supports formats like ZIP, RAR, 7z, TAR, and GZIP.[cite-1]
- Details that The Unarchiver only extracts files and does not feature compression or archive creation capabilities.[cite-2]
- Lists the extensive support for obscure formats such as LZH, ARJ, ARC, and legacy Amiga-specific archives.[cite-3]
- The open-source Objective-C framework that serves as the core extraction engine for The Unarchiver, detailing its parsing capabilities.[cite-4]
- The official GitHub repository containing the source code for the macOS front-end application of The Unarchiver.[cite-5]
- 1The Unarchiver - Official Website
Accessed May 6, 2026
"Confirms the app is a free macOS utility specifically designed to extract compressed archive files and supports formats like ZIP, RAR, 7z, TAR, and GZIP."
- 2What is The Unarchiver? - MacPaw Support
Accessed May 6, 2026
"Details that The Unarchiver only extracts files and does not feature compression or archive creation capabilities."
- 3Supported Formats - The Unarchiver
Accessed May 6, 2026
"Lists the extensive support for obscure formats such as LZH, ARJ, ARC, and legacy Amiga-specific archives."
- 4MacPaw/XADMaster - GitHub
Accessed May 6, 2026
"The open-source Objective-C framework that serves as the core extraction engine for The Unarchiver, detailing its parsing capabilities."
- 5MacPaw/TheUnarchiver - GitHub
Accessed May 6, 2026
"The official GitHub repository containing the source code for the macOS front-end application of The Unarchiver."
- 6The best Mac apps: The software you need installed on your MacBook
Accessed May 6, 2026
"Highlights The Unarchiver as an essential macOS utility to handle RAR and 7z files that Apple's built-in Archive Utility cannot open."
- 7The Unarchiver Opens Any Archive on Your Mac
Accessed May 6, 2026
"Explains the simple value proposition: double-clicking an archive opens it seamlessly, replacing the default macOS extraction tool."
- 8The first Mac apps to install on your new MacBook
Accessed May 6, 2026
"Recommends The Unarchiver as a must-have free utility to compensate for the macOS Archive Utility's limited format support."
- 9Best WinZip alternatives for Mac: Speed and Compression Tests
Accessed May 6, 2026
"Compares extraction speeds of The Unarchiver against Keka and WinZip, noting its fast extraction times and low CPU overhead for 7z files."
- 10The Top Mac Apps for Extracting ZIP, RAR, and 7z Archives Compared
Accessed May 6, 2026
"Provides benchmark testing showing The Unarchiver's reliability and speed when extracting large multi-part RAR archives compared to native macOS tools."